 Once I completed my natural light studio, I gazed at these white walls and realized I was missing a bit of variety. What if I didn’t always want to photograph on white? I am not a huge ‘backdrop’ person. I don’t do it for my newborn sessions and I didn’t want to be a slave to a certain part of my studio and have to use studio lights to light it properly. So, I made my own instead 🙂 Here’s how, along with some after pics so you can see it in action.
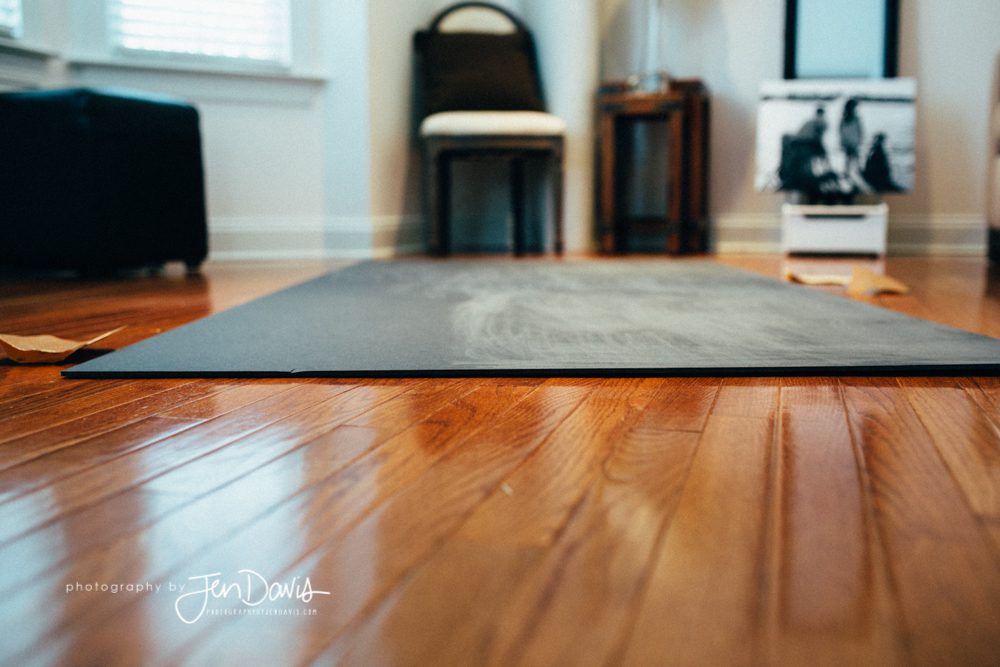
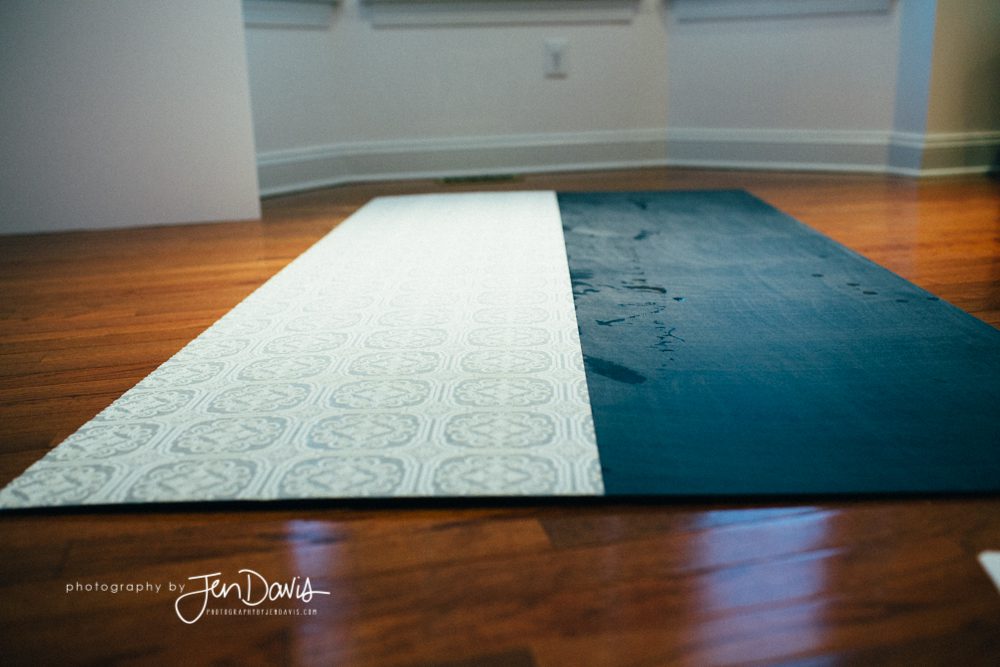
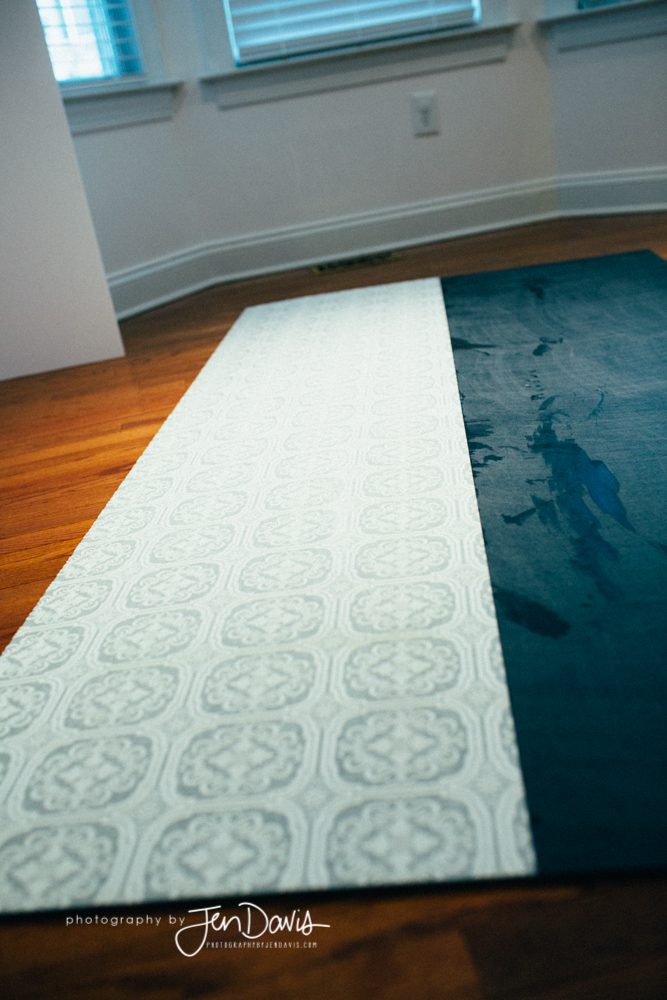
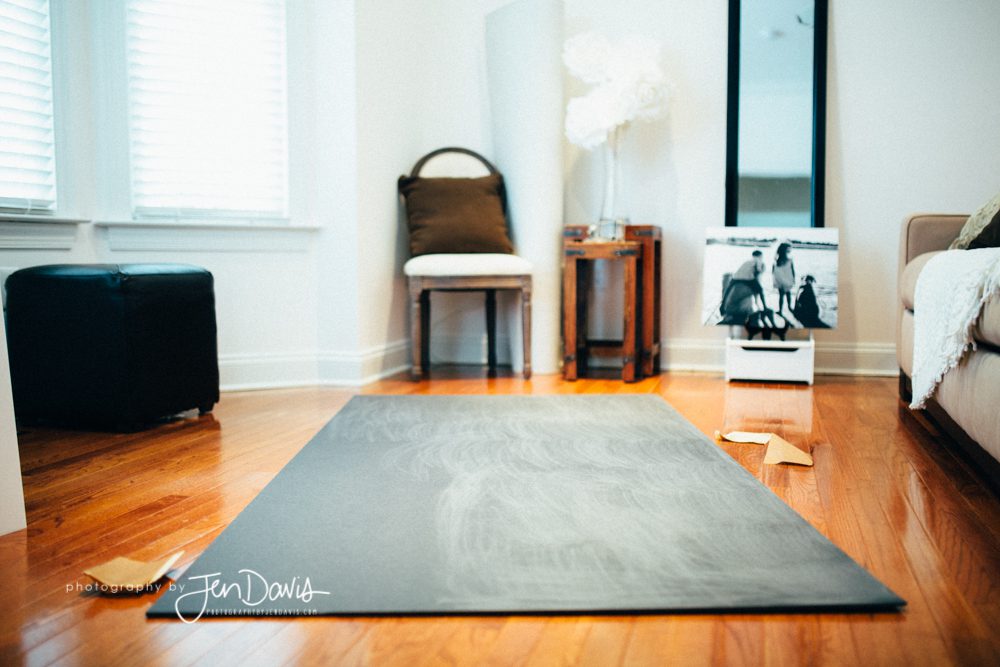 I started with a 7′ by 4′ piece of black gator board that I purchased damaged from a sign shop. They gave it to me for a discount and cut off the damaged corner. It saved me about 50%. I went to Lowe’s and purchased textured wallpaper with adhesive pre applied. You don’t have to do that, but it made laying it a lot easier. I didn’t just want to photograph the black gator board. It just would not have the richness that I was looking for.
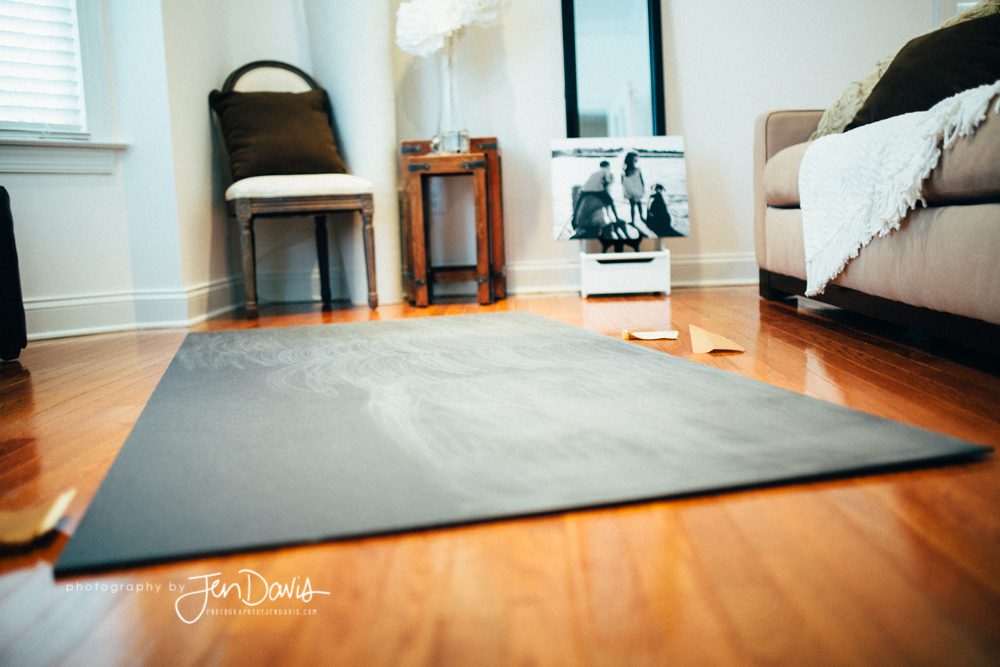
I came home and sanded the gator board so the adhesive would have a good base to attach. If you don’t know how to apply wallpaper, there are several good tutorials on YouTube. I used a very light sandpaper for this, the goal was not to destroy it. I started applying the wallpaper, working from the center out so that the seams were not directly in the middle of the board. I only needed about 3 pieces for this project.
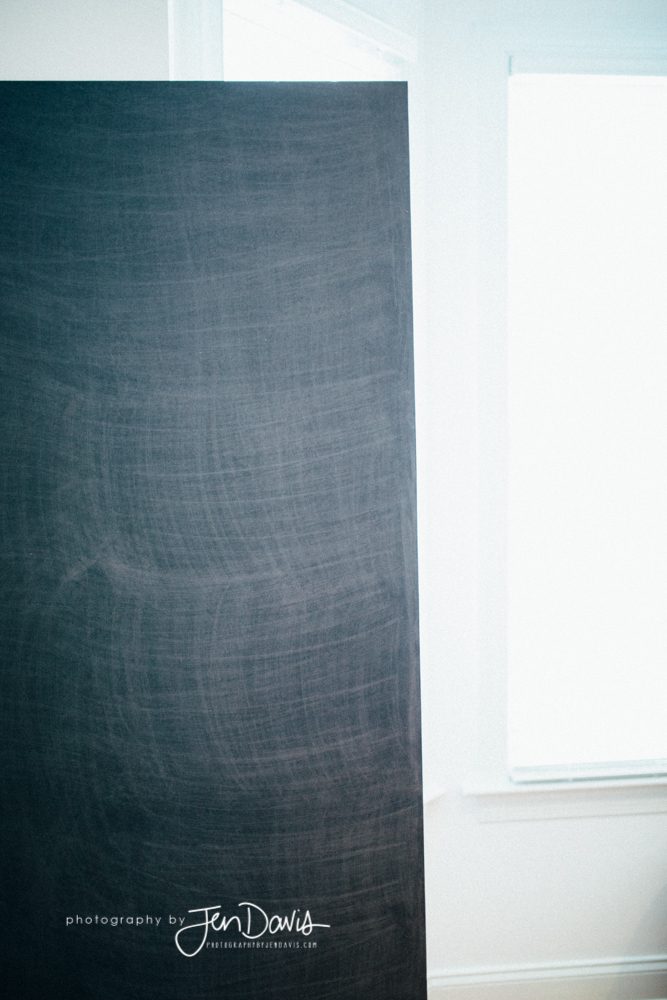
 Once the wallpaper set and cured for 24 hours or so, I finished it off with a good 2 coats of matte black paint from Lowe’s. I used a brush to apply the paint since the texture can make rolling difficult. I got most of it covered in the first coat, and just needed touch-ups for the second. I purchased a quart size, but only needed about half.
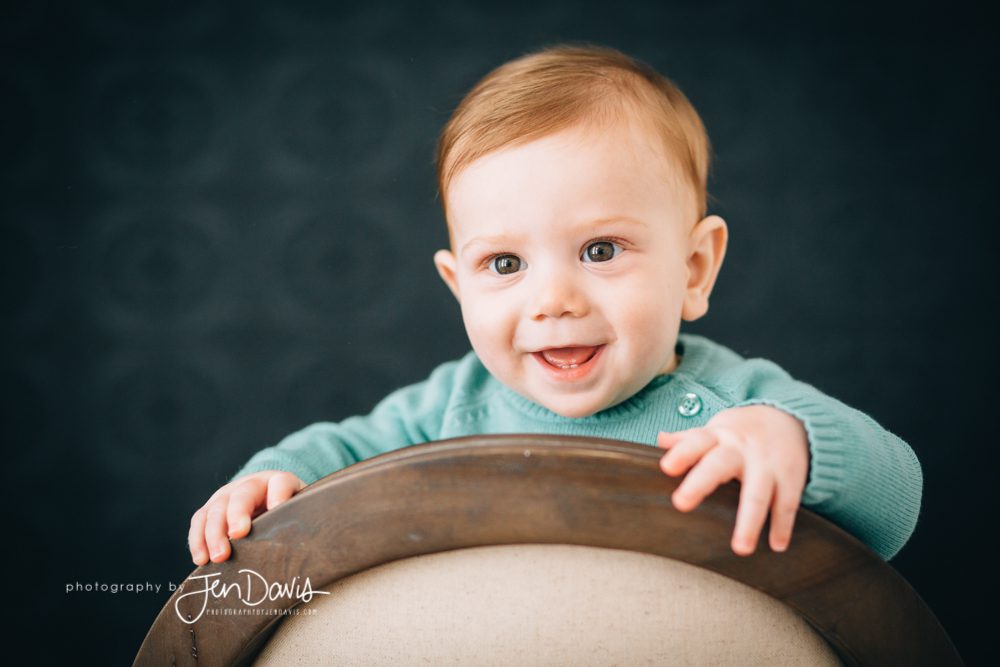
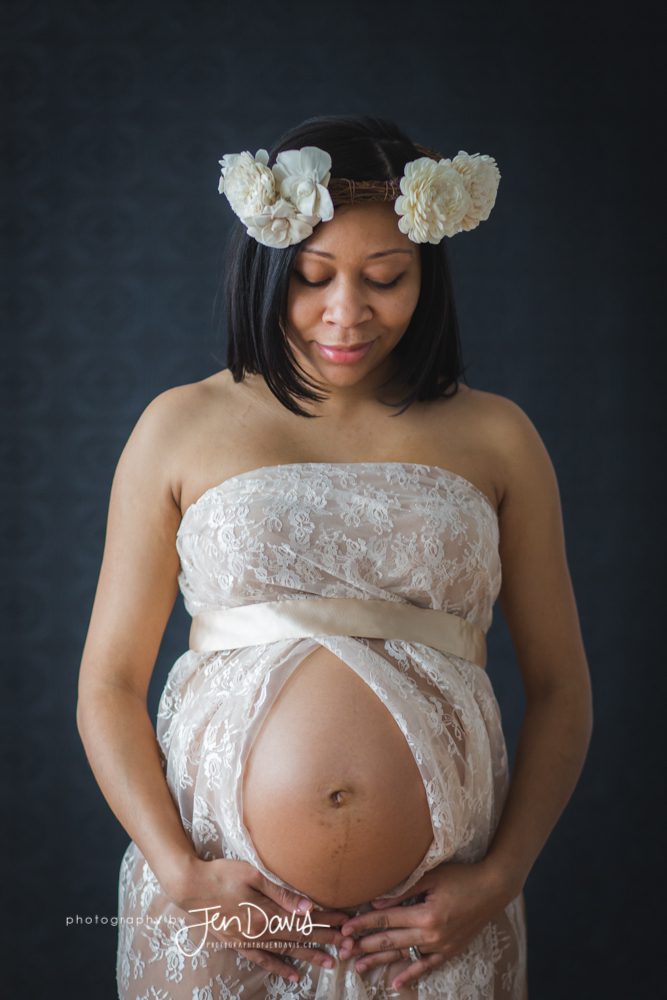
I love it! I love having the versatility of the moveable gator board around the room. I use it for both a backdrop and to deaden the light when I need to. In a pinch, I can travel with it too (it can fit in my van). I also love seeing the hint of texture in the image as part of the bokeh.
What do you think?
A little maternity bohemian style