Do you ever find yourself prepping for a shoot and wish you had some creative ideas for posing? Are you tired of doing the same shots and scenes over and over again? As a photographer, I think it’s important to not only be consistent and deliver what you know the client will expect, but also to think outside the box and give them something they will unexpectedly die for. Oh yes, there is a big difference. Kind of like opening up that birthday box from the Hubs, fully expecting socks and jammies (a very necessary, albeit boring vanilla kind of gift) but finding Jimmy Choos. Or a new Coach bag. Or a necklace from Tiffany’s. You get the idea.
I thought it might be helpful to make a list of some key aspects to keep in mind when posing and snapping that family in the great outdoors. Stay tuned to another post for indoor shots.
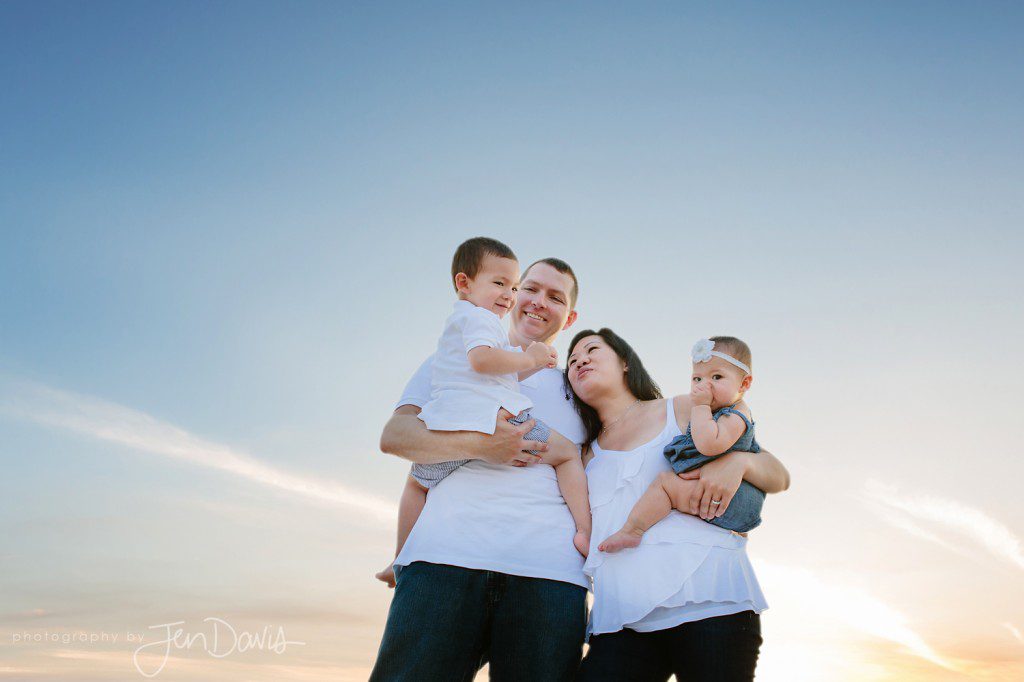
#1. Light. Lighting can seriously make all the difference. Even on overcast days, there is directional light. Be aware of lighting. In harsh sunlight, you can find open shade or put your subject’s back to the light for some beautiful backlighting. Don’t be afraid to use your flash, either on or off camera, to create some nice catch lights in your subject’s eyes and properly illuminate the face.
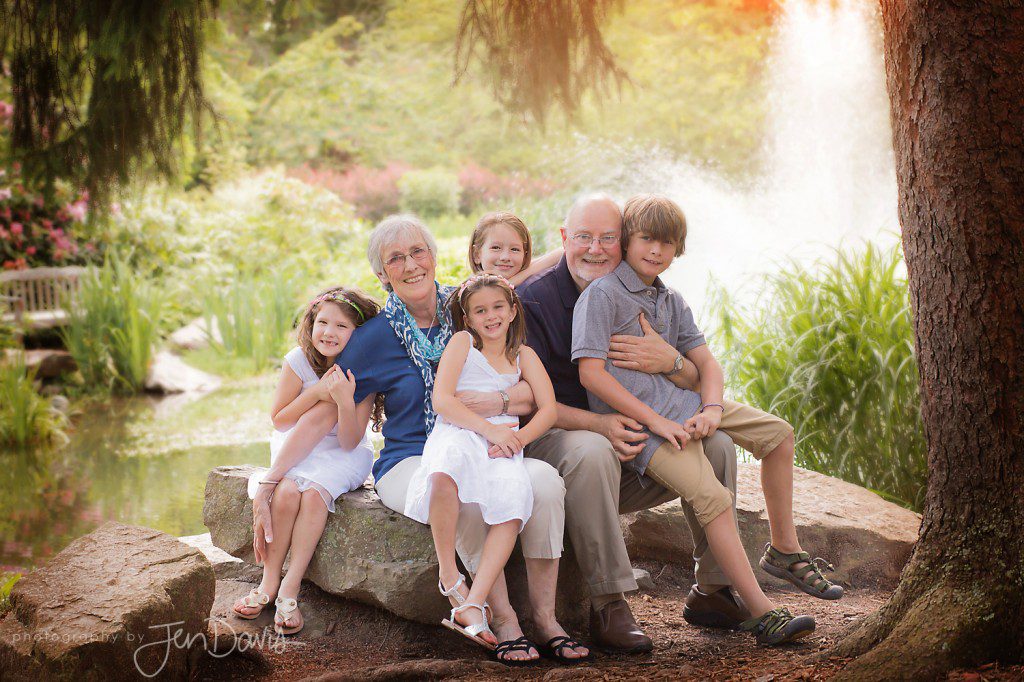
#2. Location. I like to have a location that can give me multiple looks in one shoot. Parks, beach, boardwalks, your local carnival, all of these places can give you at least 3 or 4 different scenes where you can mix it up. Even the client’s backyard can offer a less than traditional scene. Turn on the sprinkler. Hang a quilt over the fence as a different backdrop. And try to pay attention to what is in your background while you are working the camera. It’s much easier to remove that cell phone tower in camera then it is when post processing those 30 or so images. It’s also nice to let nature give you some props to use. In a garden? Frame your clients with some gorgeous blooms in the foreground and shoot through them.
#3. Look behind you. Have your clients turn to look behind you for another creative look.
#4. Diamonds (and triangles) are a girl’s best friend. When posing families, try to anchor the group shots with a piece of furniture, like a bench, chair, or a tall client and build your pose around them. While doing that, create diamond and triangle shapes with the family members as you go. Have the parents sit and the kids stand (or hang) with their arms around them. And don’t limit the shape making fun to just heads. Have the client bend her arm slightly at her side to make a triangle instead of dangling to the side, this instantly will change the image. For the better. Utilize different heights when you can.
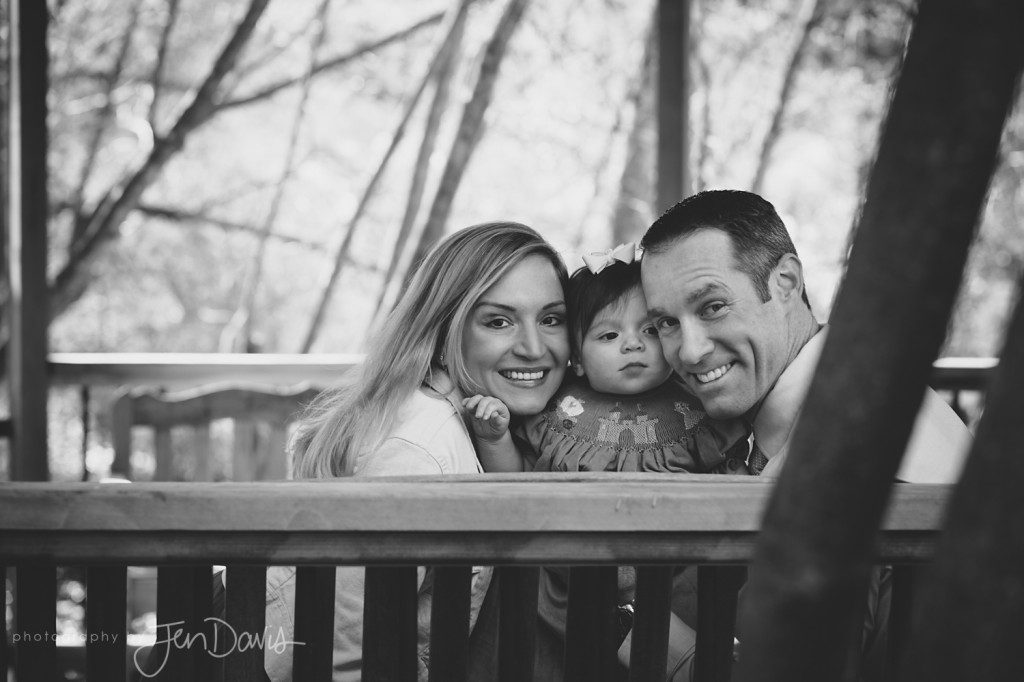
#5. Line it up. You can create an image that is fun to view using lines. Have each family member peek at your from behind their own tree trunk in frame. Have everyone link up in arms and walk down a cobble path while you snap away from behind. Get everyone down on a blanket to play peekaboo with the camera. Another trick for an appealing image is to use lead-in lines as a way to draw the eye into your image and to the subject(s) of your photo. You can find examples of this all around you! A trail or path, brick walls, fences!
#6. Level it out. It can be almost impossible for little kids to sit still long enough to both compose the shot and pose the family. Bring Mom and Dad down to the kid’s level…or use the parents as a prop! Put little Johnny on Dad’s shoulders and let Mom swing Tina.
#7. Mix it up. Change your angles. Get down low or shoot down from above.
#8. Have fun!